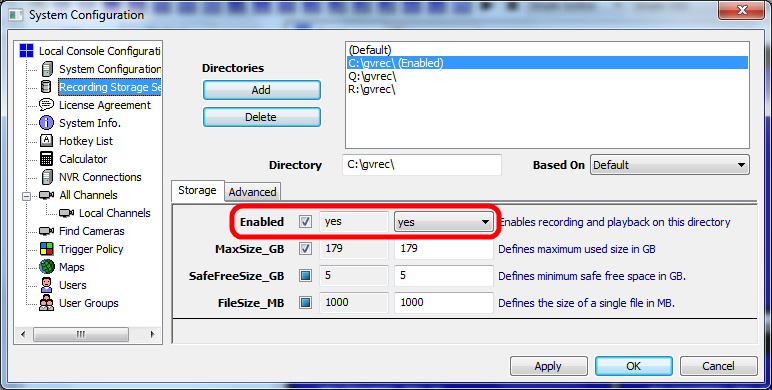
The first thing you need to do is configuring
storage. All available drives are listed automatically. Just enable the
drive you want to use to store recorded data. You may want to change "MaxSize_GB" if
the drive is not dedicated to recording. Everything else should be
left untouched.
The second to do is adding
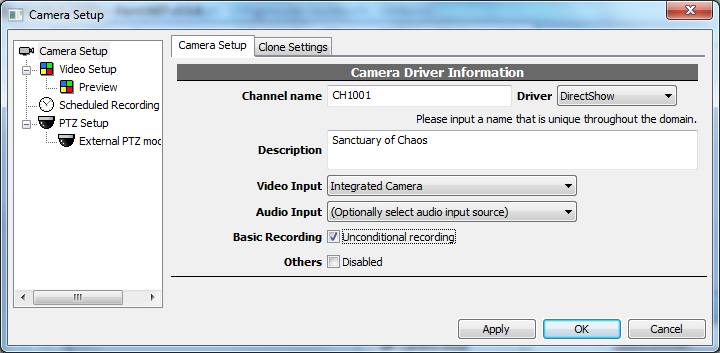
a camera. Channel name is an unique identification associated
with recorded data and events. It can't change in the future so name
it carefully. Put additional information in description instead.
Select driver DirectShow for
webcam. Check "unconditional
recording" for 24x7
recording.
Okay. Now the setup is done and the server is recording. The server is
running as long as the PC is on, even before any user logged in Windows.
Check our website and YouTube channel to learn more about schedule
recording, trigger policy, intelligent video, motion detection, storage
report, 3GPP streaming, and many advanced functions.
Things You May Want To Know
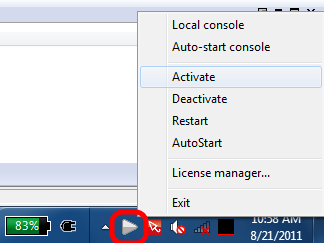
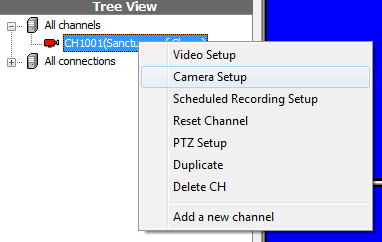
Config camera, and many things as well, with right click menu.
Cameras, maps, and some objects can be dragged. Experiment with various
operations with mouse drag&drop.
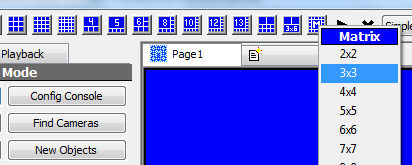
Use matrix mode for better performance. Decoding massive channels with
massive resolution consumes hell lot of computing power. Use simplified
player (no OSD, no aspect control, no zoom, no playback, no audio) for
better performance.
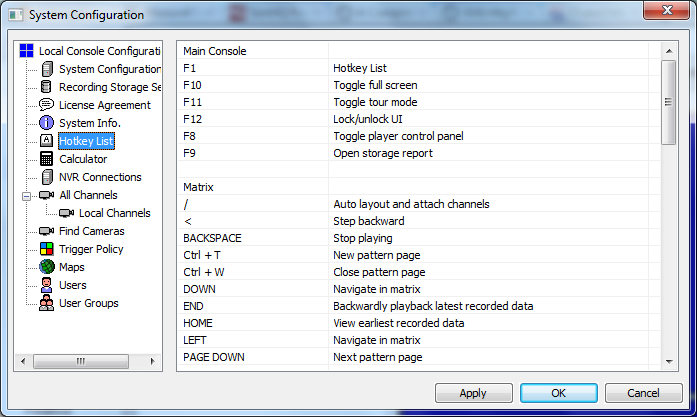
List all hot-keys.
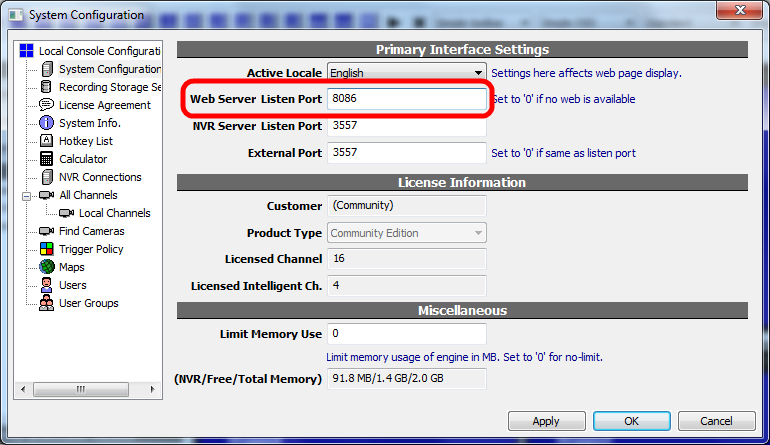
Config for IE access.
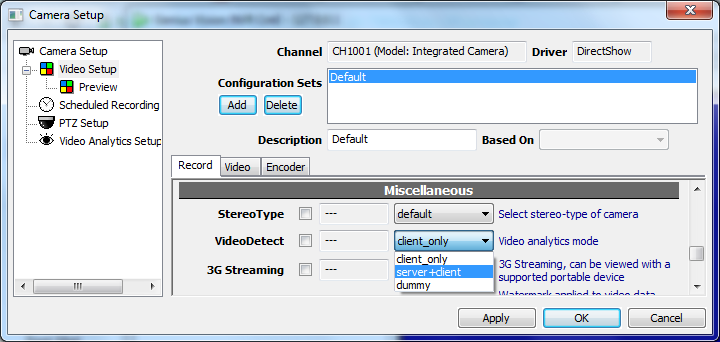
Enable intelligent video analytic on server in camera config. You don't
want to do this if the server is not dedicated to surveillance. To
analyze video, the engine must decode it first so it consumes fair
amount of computing power.
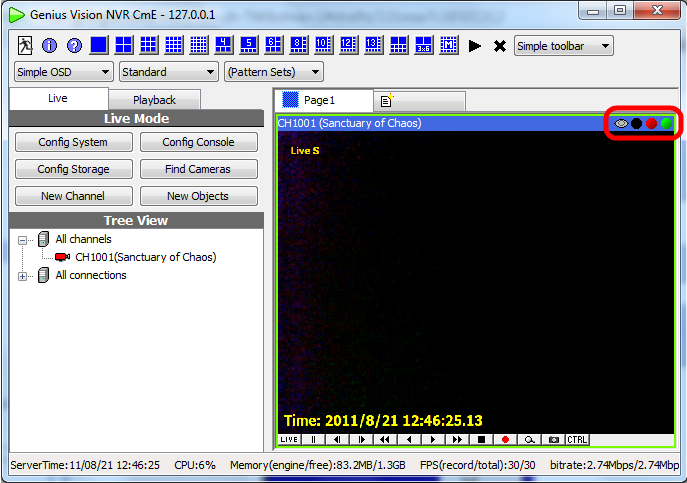
Some of the indicators in player is clickable.